怎么整合Gateway网关解决跨域问题
本篇内容介绍了“怎么整合Gateway网关解决跨域问题”的有关知识,在实际案例的操作过程中,不少人都会遇到这样的困境,接下来就让小编带领大家学习一下如何处理这些情况吧!希望大家仔细阅读,能够学有所成!
一、Gateway网关简介
API 网关是介于客户端和服务器端之间的中间层,所有的外部请求都会先经过API 网关这一层。也就是说,API 的实现方面更多的考虑业务逻辑,而安全、性能、监控可以交由 API 网关来做,这样既提高业务灵活性又不缺安全性。
Spring cloud gateway是spring官方基于Spring 5.0、Spring Boot2.0和Project Reactor等技术开发的网关,Spring Cloud Gateway旨在为微服务架构提供简单、有效和统一的API路由管理方式,Spring Cloud Gateway作为Spring Cloud生态系统中的网关,目标是替代Netflix Zuul,其不仅提供统一的路由方式,并且还基于Filer链的方式提供了网关基本的功能,例如:安全、监控/埋点、限流等。
二、Gateway使用步骤
步骤1:搭建模块并引入依赖
在项目中使用Maven模块,搭建server-gateway模块。
由于Gateway也需要在Nacos中进行注册,所以在引入Gateway依赖的同时,也要引入Naocs依赖。
        <!--Gateway-->
        <dependency>
            <groupId>org.springframework.cloud</groupId>
            <artifactId>spring-cloud-starter-gateway</artifactId>
        </dependency>

        <!-- 服务注册 -->
        <dependency>
            <groupId>com.alibaba.cloud</groupId>
            <artifactId>spring-cloud-starter-alibaba-nacos-discovery</artifactId>
        </dependency>
步骤2:添加配置文件
下面的配置表示将网关服务端口设置为9000后,配置了两个路由id:
# 服务端口
server.port=9000
# 服务名
spring.application.name=service-gateway

# nacos服务地址
spring.cloud.nacos.discovery.server-addr=127.0.0.1:8848

#使用服务发现路由
spring.cloud.gateway.discovery.locator.enabled=true

#设置路由id
spring.cloud.gateway.routes[0].id=service-hosp
#设置路由的uri
spring.cloud.gateway.routes[0].uri=lb://service-hosp
#设置路由断言,代理servicerId为auth-service的/auth/路径
spring.cloud.gateway.routes[0].predicates= Path=/*/hosp/**

#设置路由id
spring.cloud.gateway.routes[1].id=service-cmn
#设置路由的uri
spring.cloud.gateway.routes[1].uri=lb://service-cmn
#设置路由断言,代理servicerId为auth-service的/auth/路径
spring.cloud.gateway.routes[1].predicates= Path=/*/cmn/**
步骤3:创建启动类
@SpringBootApplication
public class ServerGatewayApplication {
    public static void main(String[] args) {
        SpringApplication.run(ServerGatewayApplication.class, args);
    }
}
网关初步测试
后端服务配置好后启动相应微服务,在前端dev.env.js文件中,也将端口设置为9000与后端对应:
'use strict'
const merge = require('webpack-merge')
const prodEnv = require('./prod.env')
module.exports = merge(prodEnv, {
  NODE_ENV: '"development"',
  BASE_API: '"http://localhost:9000"',
})
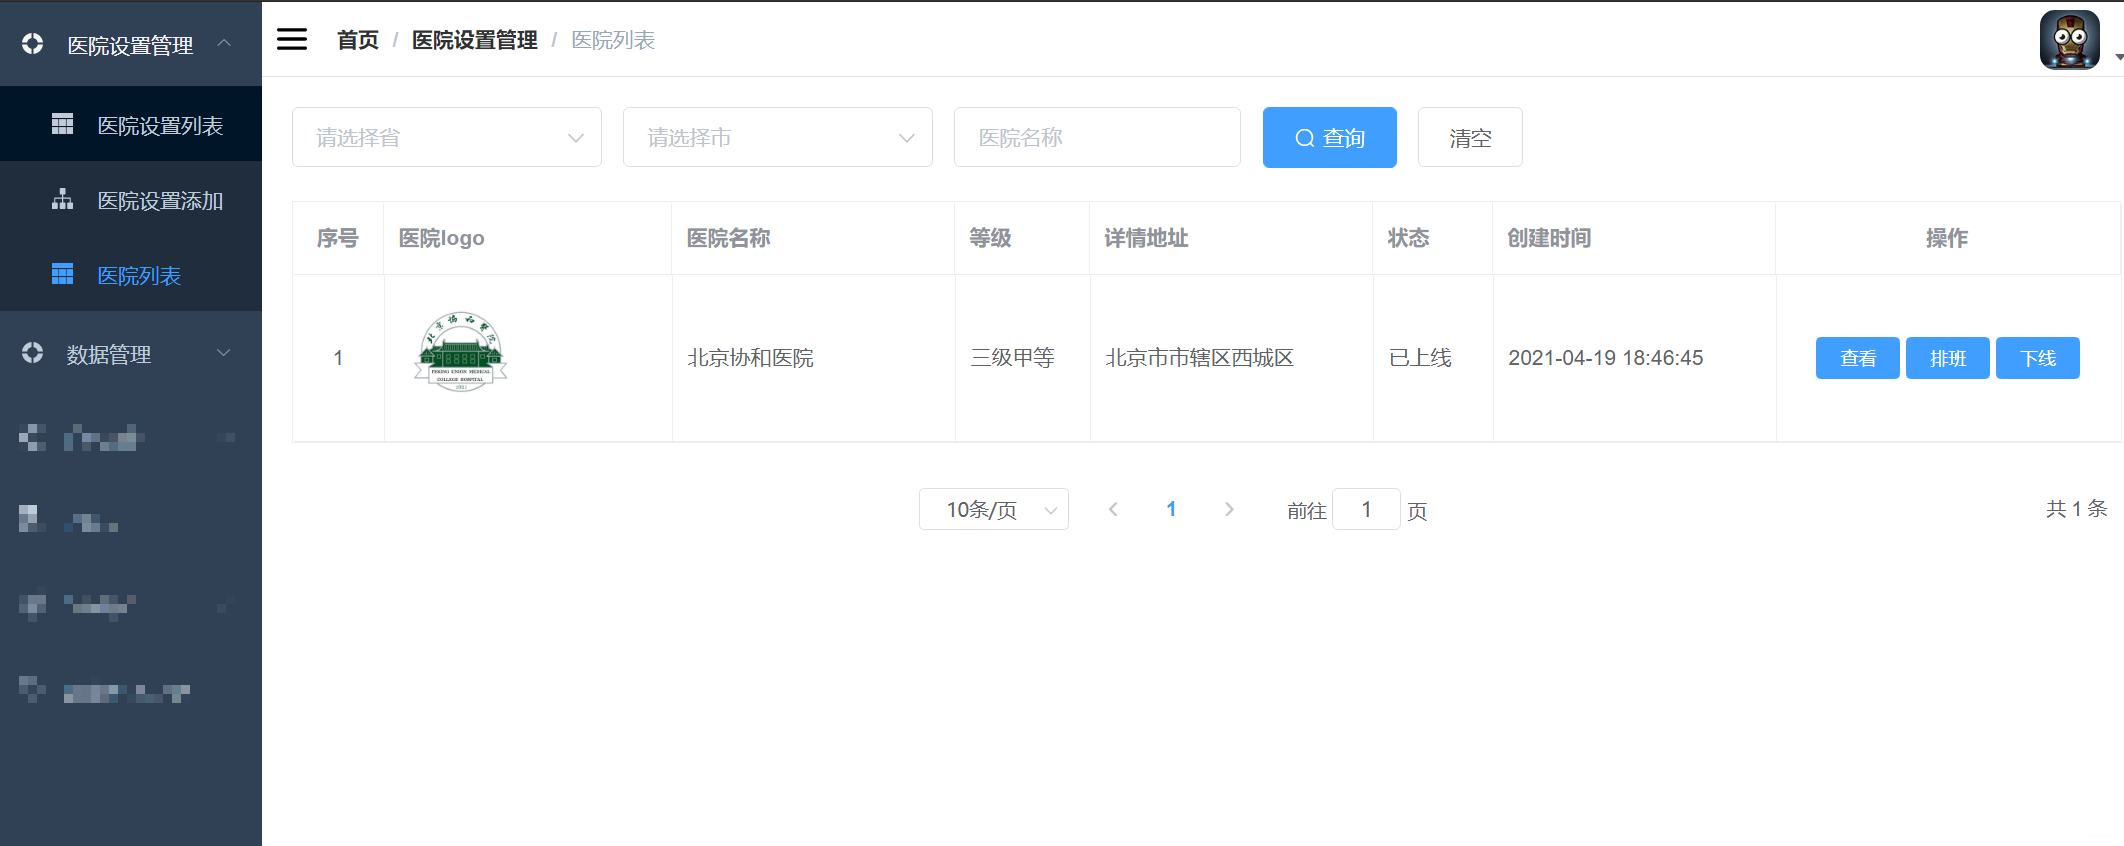
关闭之前配置的Nginx,在不同端口之前发送请求,都可以成功访问:

三、Gateway解决跨域问题
在service_gateway模块创建配置类,写入下面的内容:
@Configuration
public class CorsConfig {
    @Bean
    public CorsWebFilter corsFilter() {
        CorsConfiguration config = new CorsConfiguration();
        config.addAllowedMethod("*");
        config.addAllowedOrigin("*");
        config.addAllowedHeader("*");

        UrlBasedCorsConfigurationSource source = new UrlBasedCorsConfigurationSource(new PathPatternParser());
        source.registerCorsConfiguration("/**", config);

        return new CorsWebFilter(source);
    }
}配置好后,将之前项目中所有Controller中的@CrossOrigin注解删除掉。
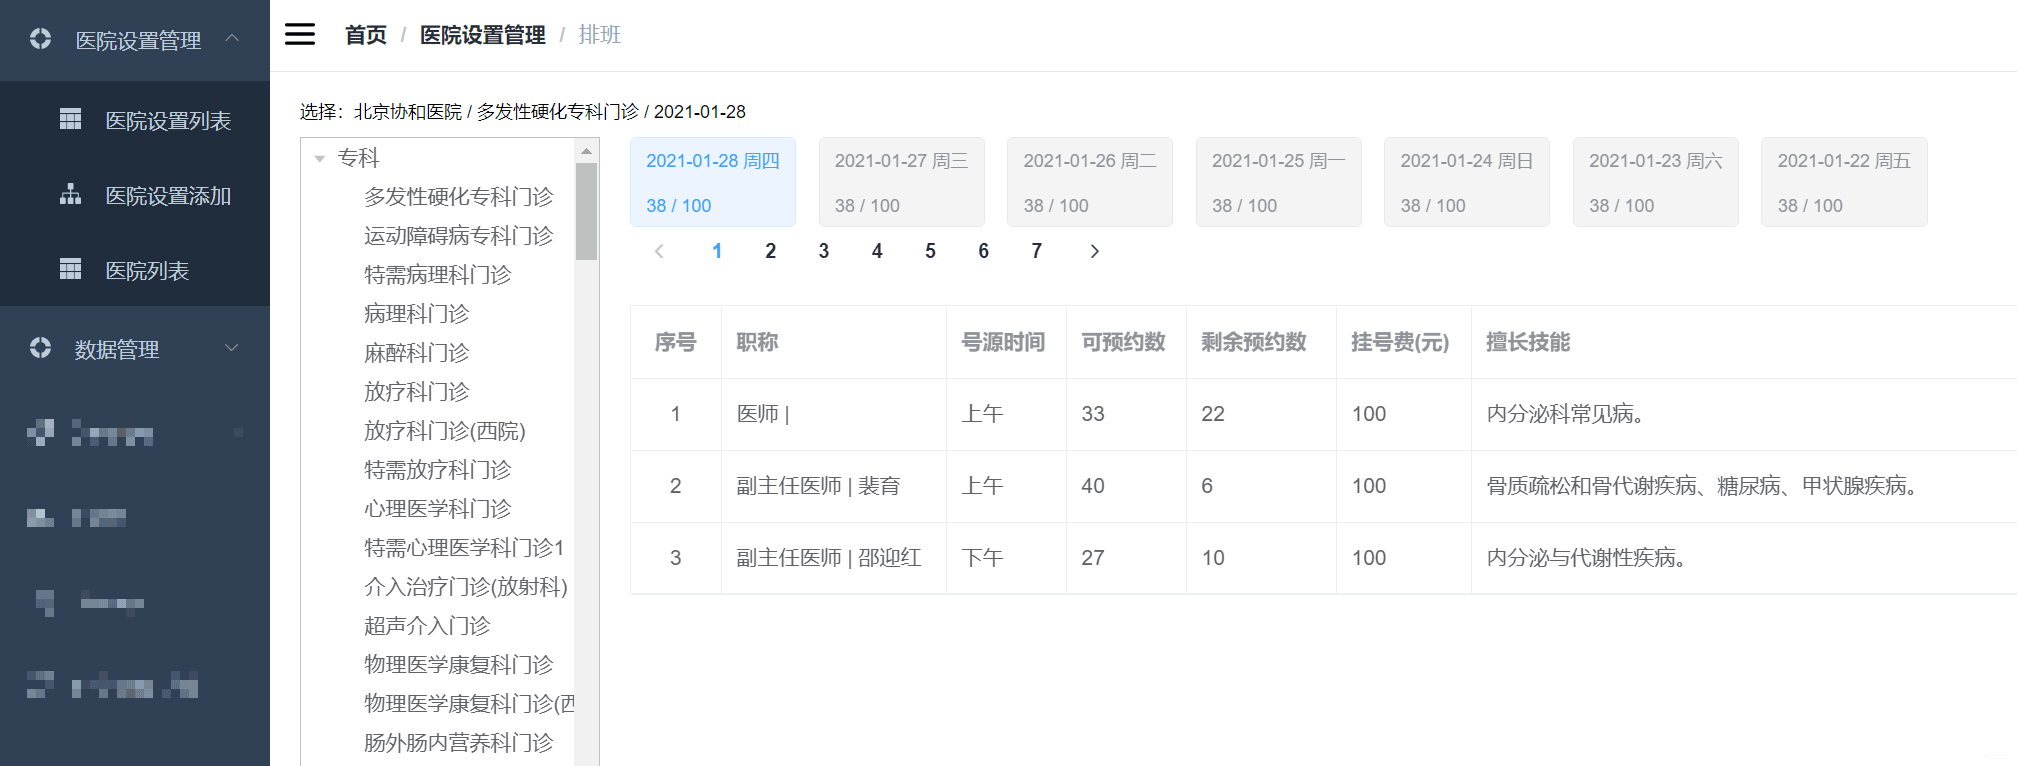
再次启动后端微服务和前端项目,切换不同选项卡,发现跨域问题被成功解决掉:

“怎么整合Gateway网关解决跨域问题”的内容就介绍到这里了,感谢大家的阅读。如果想了解更多行业相关的知识可以关注蜗牛博客网站,小编将为大家输出更多高质量的实用文章!
免责声明:本站发布的内容(图片、视频和文字)以原创、转载和分享为主,文章观点不代表本网站立场,如果涉及侵权请联系站长邮箱:niceseo99@gmail.com进行举报,并提供相关证据,一经查实,将立刻删除涉嫌侵权内容。


评论